Introduction:
If you have a website on WordPress and you are a beginner and you don’t know “how to add posts in WordPress? then you are in the right place. As a beginner, you should know how WordPress works ?. In this article, we will discuss how to add posts, set the post, and how to publish the post.
How to create a new post?
To create new posts, follow the steps given below and read carefully.
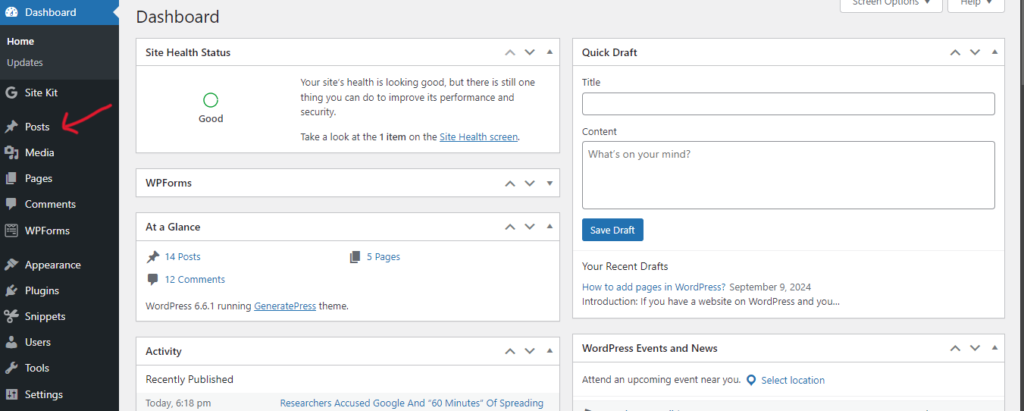
Log in to your WordPress “Dashboard“.
On your left side, click on the “posts” button.

Go to “Add new post.”.

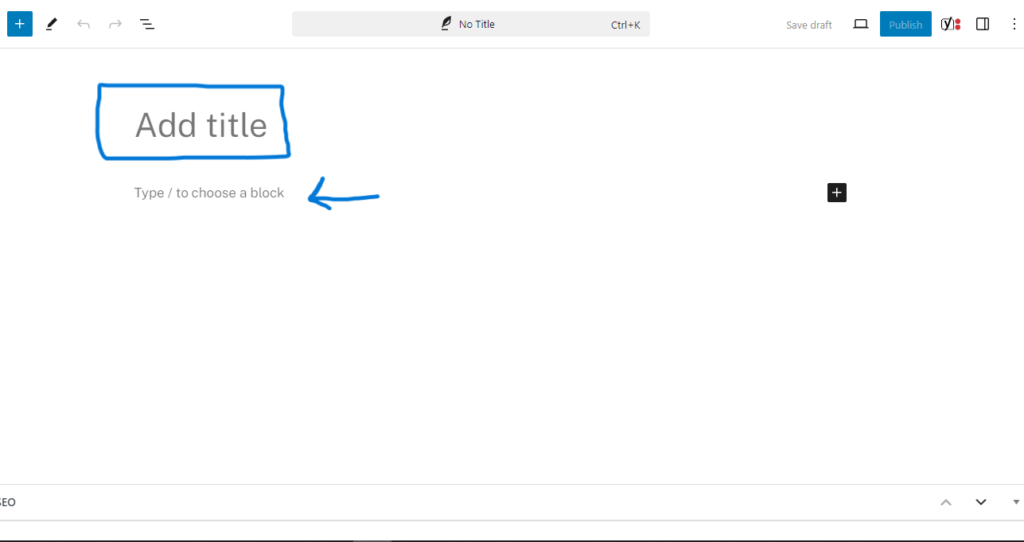
Now an interface comes in front of you and puts your title in the first box named “Add title.”

Now start writing your post below the title.
How do you manage posts in WordPress?
When you complete your post, then it’s time to manage your post. You can choose any category to show your post. Here you can give a tag to your post and manage multiple things. To manage your post, read the complete article carefully.
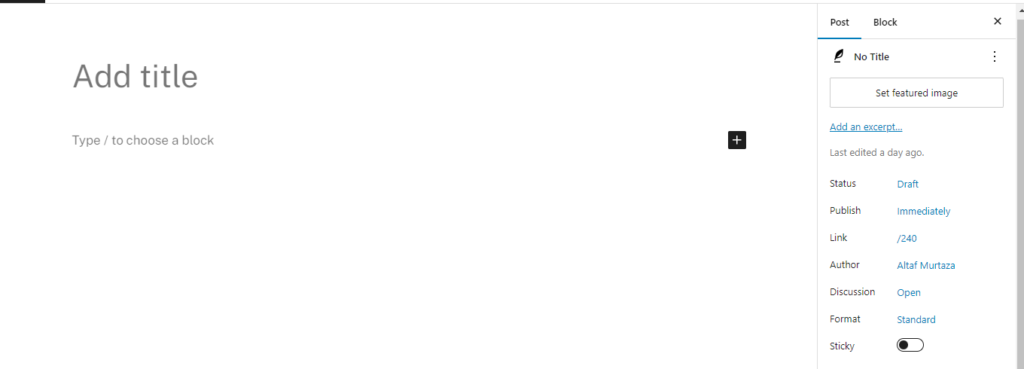
While working on the page, you will find settings in the sidebar on the right side. If you don’t find settings, read below
Click on the “Setting” button on top of the right side to bring up the setting.

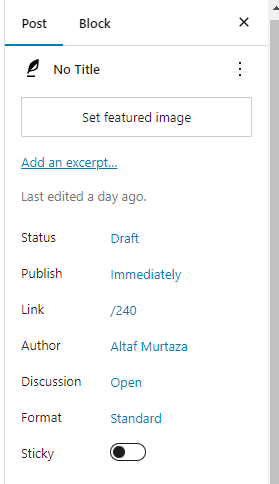
You will see multiple options to manage your post.

- Set featured image: set the image for your post. To know what the featured image of a post looks, see the picture below.

In the above image, you can see the featured image for the post “Meta AI vs. ChatGPT: Which is better? [2024]“

- Status: here you can see, what is the current status of your post.
- Publish: You can decide when to publish your post.
- Link: link of your post.
- Author: Details of author
- Discussion: details about discussion.
- Format: You can set post format.
You can set tags for your post. You will find many other options, check all the options to manage your post. Besides these settings, you will find other options on your left side. Like as by clicking the below option you will know about your list view and outlines.

How to publish your post?
To publish your post, click on the “Publish” button that you will find on top of your right side.

Click the button and after confirmation your post will publish and now you can view your post just by clicking on the “View your post” button.
Also read: What is WordPress, and why is it used?
Also read: How to add themes in WordPress?
Also read: Top 10 free WordPress blog themes for 2024


2 thoughts on “How to add posts in WordPress?”